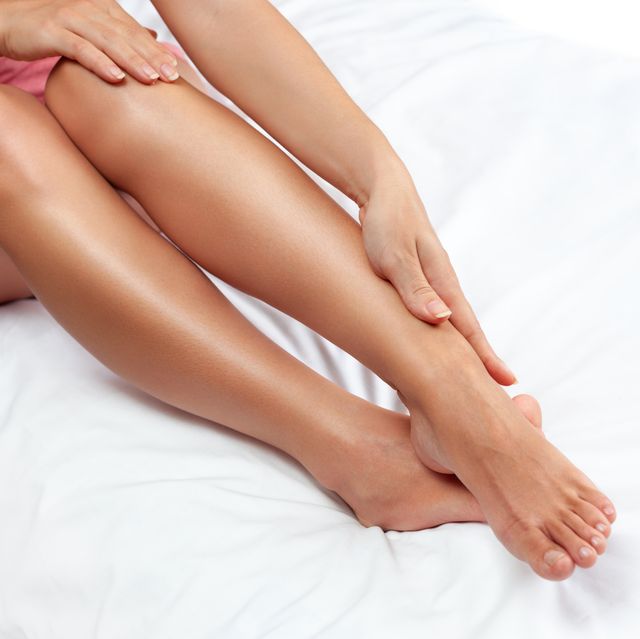
Gradual tan is the ideal choice for those looking for a sun-kissed glow without the risk of going too dark or getting stained sheets. While the best self tans do minimise these mishaps, nothing is quite as foolproof as a slow-building gradual tan. It's also versatile: try an all-over formula, or one of the best gradual tanning drops for the face.
Gradual tanning lotions use the same active ingredient found in traditional tans, DHA (dihydroxyacetone), which creates a damage-free bronzing effect on the skin. What sets gradual tanning lotions apart is that they use far less DHA than traditional self-tan, and deliver it in a moisturising format.
The result? A buildable, tan that’s easier to apply without streaking or patches, with the added bonus of hydration. And, of course, there's no sun damage.
‘Somebody that would love a gradual tan might be a drier skin type, or a mature skin,’ says facialist and tan guru Michaella Bolder, the former Head of Tanning on Strictly Come Dancing. ‘Someone that just likes to maintain colour, but they know they can build and tailor that to the point that they feel comfortable and happy.’
It’s even possible to maintain a gradual tan continuously, according to her fellow celebrity pro James Read, who has tanned everyone from Rosie Huntingdon-Whiteley to Victoria Beckham and Lady Gaga. ‘The key is balance - and a little expert know-how’.
How often do you need to apply gradual tan?
Michaella advises applying every day for a few days to achieve a real glow, before breaking for a couple of days, and then starting again.
She recommends taking things slowly until you get to know your product. 'Try it for two consecutive days and check the colour. If you're happy on day two, don't go in again on day three. Wait until day four or five, apply again and see how it looks.'
Don't apply it for more than four days in a row as you could risk your tan becoming darker than you'd like, says Michaella. For a subtler build up, and consistent seven-days-a-week glow, apply on alternate days continuously.
Do you need to use a tanning mitt?
Don’t skip the mitt, even for a gradual tan, says James. ‘I always recommend using a tanning mitt for a flawless, streak-free application. It helps distribute the product evenly and protects your palms from staining. When it comes to your hands and feet, use only the leftover product on the mitt, gently blend it over these areas for a natural, seamless finish.’
How should you prepare your skin for gradual tanning?
Exfoliating is vital because an uneven surface or patches of dry skin will lead to tan gathering in those areas. Michaella explains: ‘If you buff off all the dead skin cells, your skin is then a lovely clean slate and that's how you get that beautiful, even smooth finish.’ The tan will also last longer she adds, as you won't be tanning skin cells that are about to be shed.
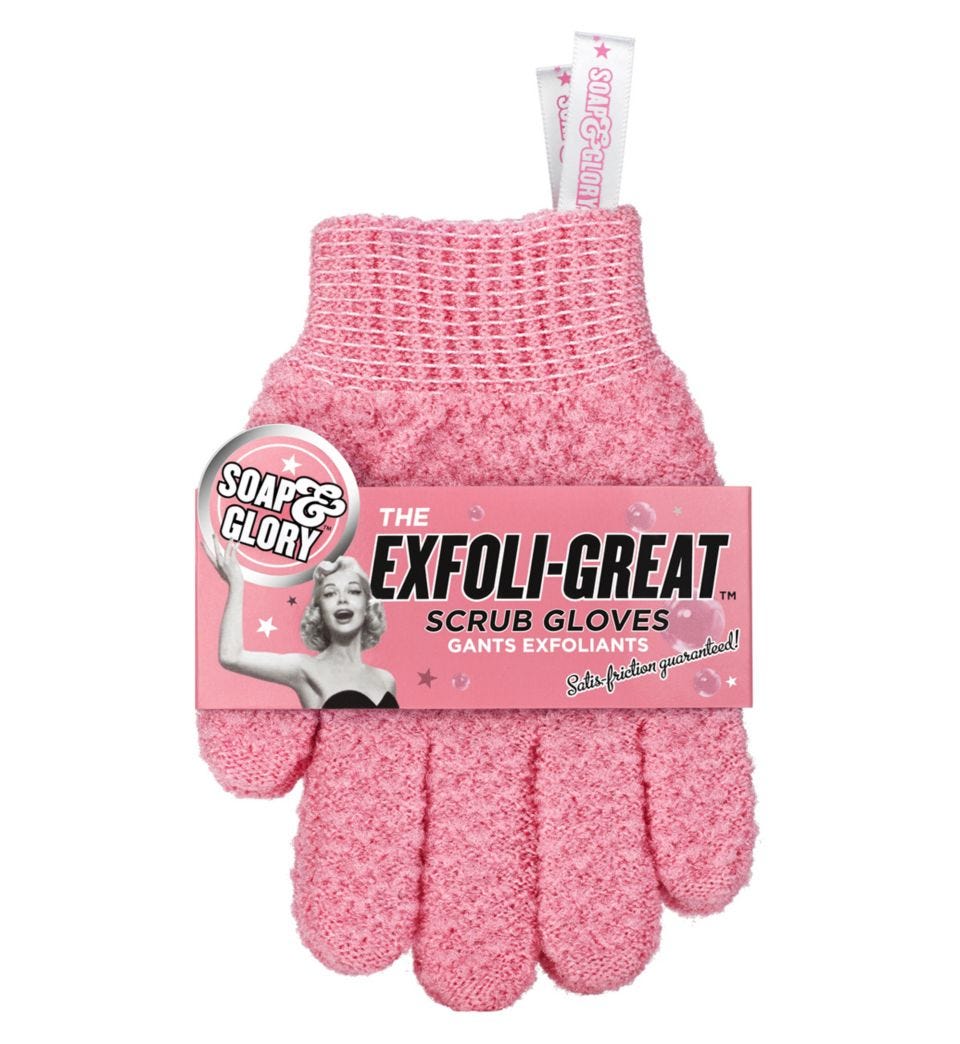
Exfoliating 2-3 times a week is part of the maintenance routine, to facilitate both removal and application. Michealla's method of choice is to use an oil-free shower gel with exfoliating gloves: ‘I just buff my body all over in circular motion, making sure I've got a lovely pink flush.’
Additional moisturising is key. Gradual tans are more hydrating than many traditional formulas, but DHA can still dry the skin. On days you're not tanning, moisturise all over. Michaella recommends shea butter-based creams or lotions rather than body oil, which can interfere with the development of your tan or speed up fading.
How can I avoid streaks?
Use an ordinary body lotion or cream on any particularly dry areas before you apply your gradual tanning product. ‘Focus on your hands, especially the palms, in between your fingers, and around your wrists,’ says Michaella. ‘Also watch out for elbows, knees, ankles, and tops of feet down to your toes, along with any other dry areas you may have elsewhere.’
How can I stop my gradual tan going patchy as it fades?
Avoid the problem by not applying it too often in the first place - you can get too much of a good thing, says James. ‘I recommend applying gradual tan for just two consecutive days, then exfoliating on the third day to help your tan fade evenly. If you need a quick glow or touch-up, opt for a wash-off tan instead. It's a great instant fix without the commitment.’
How can I remove gradual tan?
If you need to slough it off and start again, try soaking in an oily bath then sloughing with a dry towel. James is also a fan of self-tan removers, calling Rose & Caramel's 'brilliant'. Read the GHI's tried and tested guide to the best fake tan removers here.
What are the best gradual tans?
These are the formulas loved by our testers and our beauty director
Exactly how to apply gradual tan to each part of your body...
Here's Michaella’s practiced sequence, methods and motions used for her own seamless application of gradual tan.
- Put on your clean mitt and apply a 50p sized amount of tan to the centre, then scrunch the mitt to spread the product over it.
- Start with the thighs and bottom. A large body area allows you to begin with a substantial amount of product and use the mitt’s full area. This helps the mitt become covered evenly in tan from the start which helps with an even finish throughout the process.
- Bring the mitt straight down from hip to knee and back up in a long oval shape over and over, working round the thigh using firm fast strokes.
- Now the mitt is wet with tan add a smaller 20p size amount of product and repeat your oval strokes knee to ankle. Then repeat on the other leg.
- Move on to stomach and chest with your firm fast strokes, add a 5 pence size amount of product if needed.
- For the arms top up your mitt with a full 50 pence amount again and sweep down the arm from the shoulder to the wrist, then turn the arm slightly and come back wrist to shoulder, turn again, shoulder to wrist, all the way round. Put the mitt on the other hand to do your other arm.
- Armpits don’t see a lot of sun, so here only needs one or two light sweeps.
- Now, onto your back. Flipping the wet side of the mitt from palm side to back of the hand side may helps you reach further. If not, use a dedicated back-tanning tool, or secure your mitt over a wooden spoon with a hair tie. Using the rounded side of the spoon, rub from the centre of your back up across the shoulder and back down. Then bring your arm round the side and, with a windscreen wiper motion, go from left to right all the way across one side. Switch hands to do the other side, left hand for right side and vice versa.
- Hands and feet are always last. Hold your bare hand in a claw shape and using only leftover product on the mitt, glide and stroke the mitt over the top of the hand with light sweeping movements. Draw the mitt from nail bed to wrist about five times, the first stroke down the thumb, then the two middle fingers, the final two, back to the middle and back to the thumb. Switch hands to do your dominant hand, and finally do the same with feet, feathering over with leftover product on the mitt.
Drying time
Once the product has been absorbed and your skin is dry to the touch, which happens quickly in a moisturiser formulation, any colour transferring to bedding or clothes will be minimal. Giving you the freedom to apply morning or night, dependant on when you want that tan to hit, around eight hours after application.
