Making coffee at home is easy with a Keurig — just refill the water reservoir, pop in a fresh pod and press a button. For a lot of us, a delicious brew sets the tone for the rest of the day, but without regular cleaning, any single-serve coffee maker could start brewing stale or bitter coffee. If you neglect it long enough, your Keurig could grow mold or bacteria, or just completely stop working.
"Coffee oils and hard water minerals can build up inside," says Carolyn Forté, executive director of the Good Housekeeping Institute Home Care & Cleaning Lab. "Not only can build-up impact the taste of your coffee, but if left unchecked, the minerals can clog the machine to the point where it can stop working."
Luckily, it's easy to clean your Keurig if you know what to do. We tapped Forté for her step-by-step instructions for cleaning and descaling a Keurig, no matter the model.
Wipe down the machine.
Every time you brew a cup of coffee, Forté suggests quickly wiping down the exterior of the machine. Use a damp cloth to clean any splatters, coffee grinds or stray fingerprints on the outside or drip try. Don't forget to wipe buttons and the display screen, too.
Clean all removable parts.
If you use your coffee machine on a daily basis, wash all removable parts once per week — that includes the water reservoir, drip tray, K-cup holder and lid. Most likely, the K-cup holder and the drip tray are harboring the biggest mess, but don't skip cleaning the water reservoir.
- Unplug the machine.
- Remove the water reservoir, lid, drip tray and K-cup holder.
- Remove the filter from inside the reservoir and set it aside.
- Hand wash all parts in warm, soapy water.
- Rinse the parts thoroughly and towel dry. It's best to air dry the interior of the water reservoir, so it does not collect any towel lint.
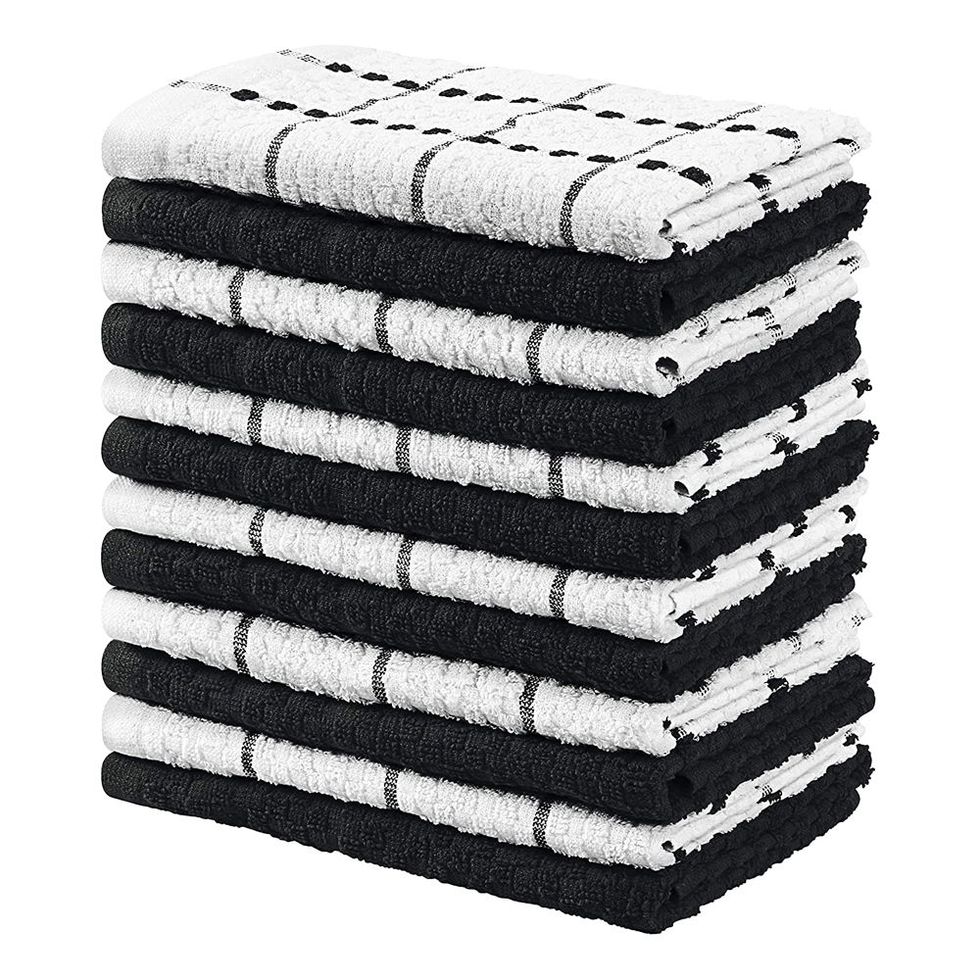
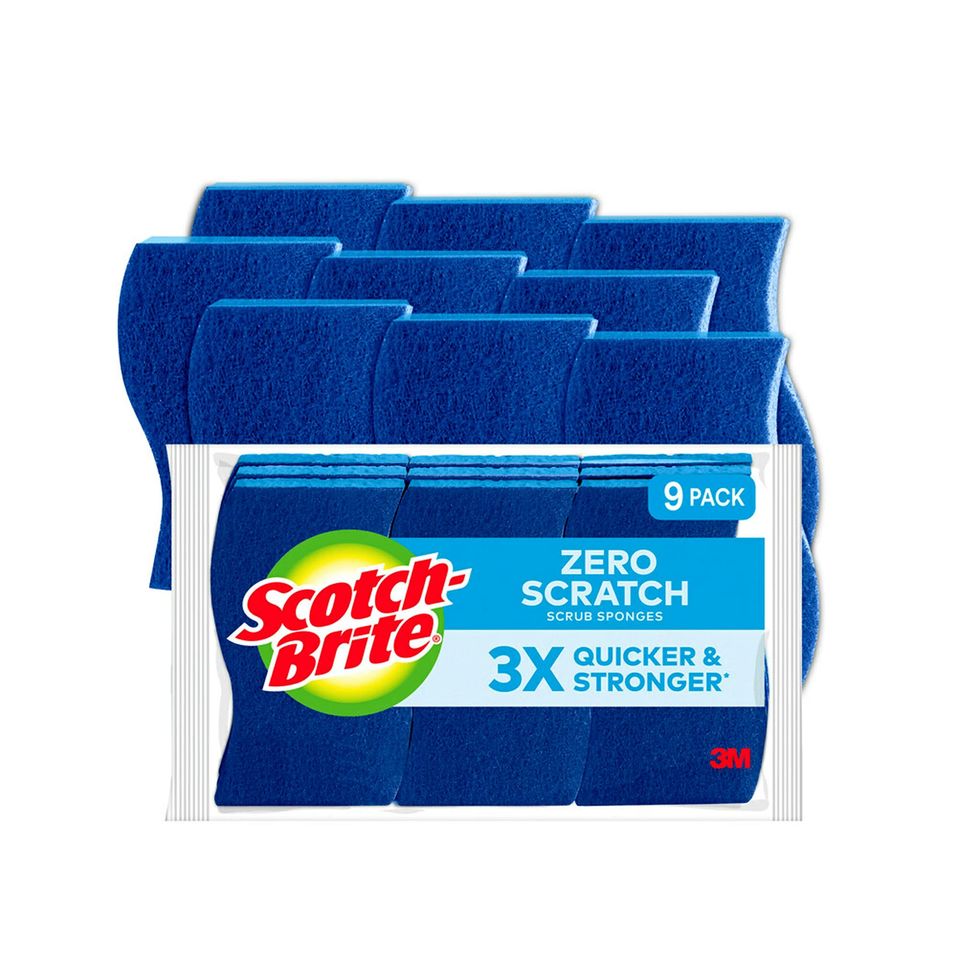
- Wipe down the machine's exterior surface with a damp sponge or cloth. Dry with a clean dish towel.
- Replace all the removable parts, re-insert the water filter and plug the machine back in.
Expert Tip: To prevent a bigger mess (and ensure a tasty brew), replace the water in the reservoir every time you make a cup of coffee.
Descale the Keurig.
For a fresh brew, it's important to descale your Keurig every three to six months — three months if you use it daily. "If you only use it every few days or once per week, you probably only need to descale it every six months or so," advises Forté. Hard water minerals build up in your machine over time, which could affect how well it works.
- Remove any water filter and fill the reservoir with either 16 ounces of white vinegar or Keurig Descaling Solution followed by 16 ounces of water.
- Place a mug on the drip tray and lift the brewer handle as if inserting a K-cup.
- Select the largest cup size and brew a cup as usual into the mug.
- Empty the mug and repeat this process until the ADD WATER indicator is illuminated.
- Let the coffee maker rest for 30 to 45 minutes.
- Empty the reservoir and wash it thoroughly. Fill it to the MAX line with fresh water and perform 12 rinsing brews using the largest cup size to remove any traces of vinegar or descaling solution.
- Re-insert or replace the water filter.
Expert tip: If you descale your Keurig 4x a year, try setting a calendar reminder at the start of each new season — so you never forget.
Clean the needles.
Used to puncture the lid of your coffee pod, the brewer's needles are located at the top and bottom of the pod holder. Sometimes, excess grounds can cling to the needles and it's best to remove them with a sponge or cloth — or else, they may end up floating in your next brew. If you're having trouble brewing or notice coffee grounds clogging the exit tube or stuck to the needles, you'll want to do a more thorough cleaning.
- Unplug the machine.
- Separate the pod holder from the funnel. Carefully unfold a section of the paper clip and use it to clear away any debris lodged in the pod holder's exit tube. Wash the pod holder, carefully handling the sharp exit needle and the funnel, and rinse well.
- Next, use the paper clip to clean the entrance needle under the brewer head. Insert the paper clip section into the two holes in the needle to clean them.
- Reassemble the pod holder and funnel and reinsert in the machine.
- Brew two cups of clear water to thoroughly rinse the needles.
Replace the water filter.
Water filters help remove chlorine, calcium and other impurities from your beverage, improving the overall taste. Replace the water filter cartridges every two to three months, according to Forté, who changes her brewer's filter on the same schedule as she descales her Keurig. Replacing the water filter cartridge immediately after de-scaling with vinegar will help ensure that no vinegar taste remains for your next brew.
- Soak a new water filter cartridge in water for five minutes, then rinse it under running water for 60 seconds.
- Wash the filter holder in warm soapy water and rinse well.
- Insert the cartridge into the filter holder and snap the holder back together.
- Lock the filter holder back into the reservoir.
Everything Needed to Clean a Keurig
Alyssa Gautieri (she/her) is the associate lifestyle editor for Good Housekeeping, where she covers all things home and interior design. Prior to joining GH in 2022, she wrote for publications including ELLE Decor, Chairish, BobVila.com, Unique Homes Magazine and LODGING Magazine, in addition to crafting product copy for home brands like BrylaneHome and VIGO Industries.


